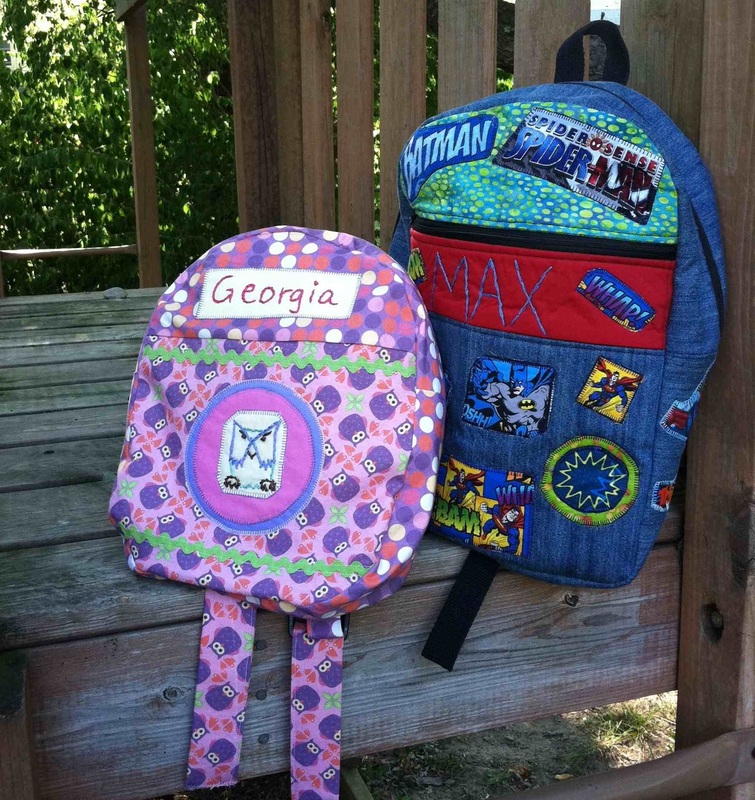
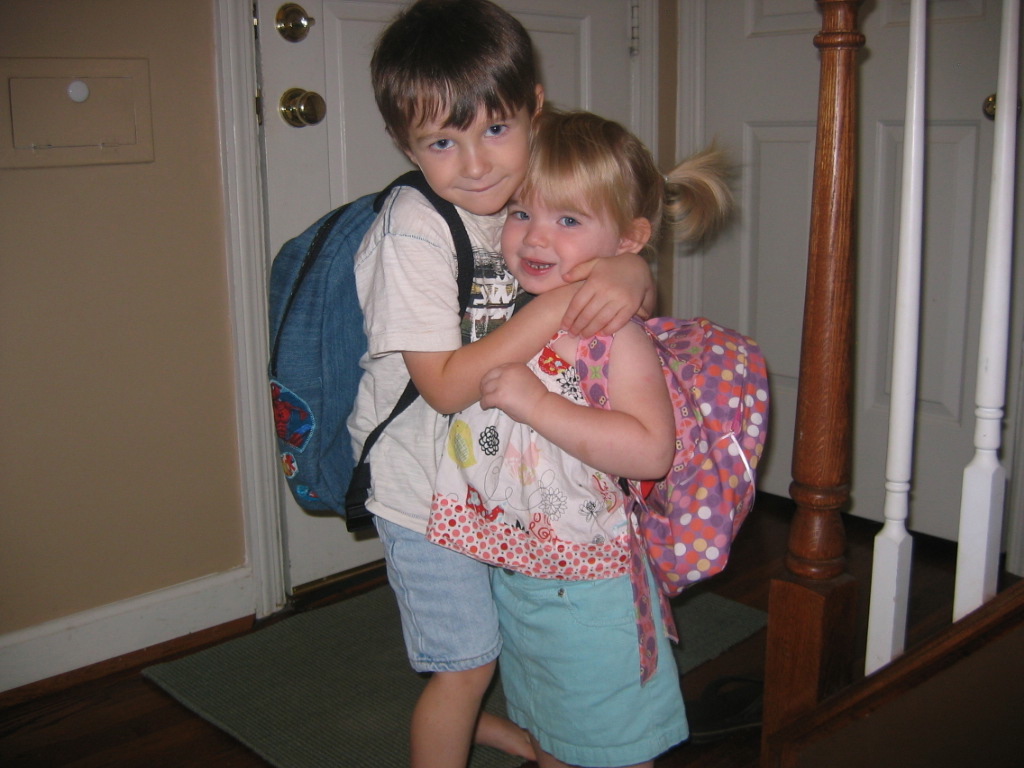
Back to school: what a sweet phrase that is! Max heads back to preschool (Pre-K, to be exact) and his little sister, Georgia, heads to a toddler program. Even though it’s been an insanely busy summer and I haven’t sewn in months, I knew that I couldn’t send the kiddos to school without some handmade decked-out backpacks. It was a great excuse for me to take the time to do some sewing again.
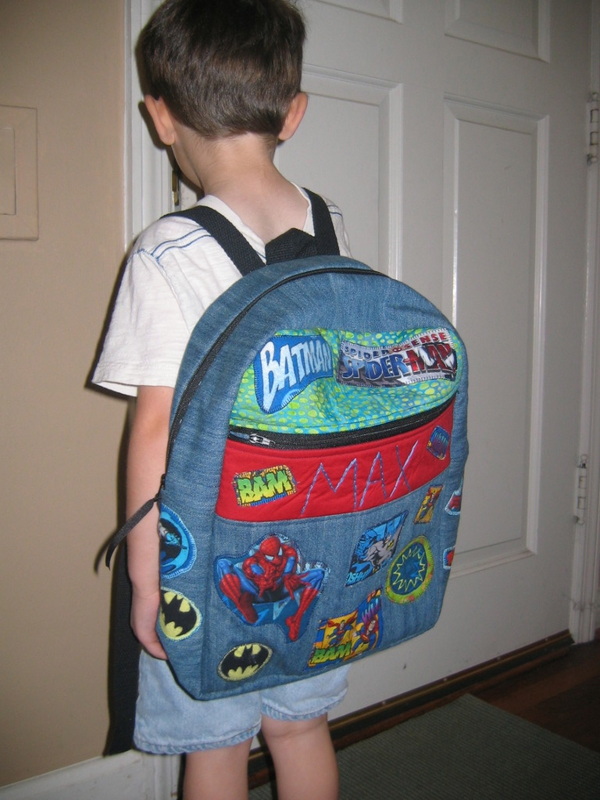
Georgia, bless her heart, has no idea that school is about to happen, or what in the world she needs with this backpack thing (she’s 2). But Max (4) had a very specific request for his back. He loved his Penguin Backpack from last year, but this year, he was ready for something a bit more grown up. And he knew exactly what. “I want Batman on one side, and Spiderman on the other. And mama, Superman too, if you can fit him.” No problem, kiddo!
Now, all summer long, my husband had been taunting me with back-to-school ads that show various superhero backpacks. “You could just buy one and be done now . . .,” he kept saying. As if. Do you even know me, dude?
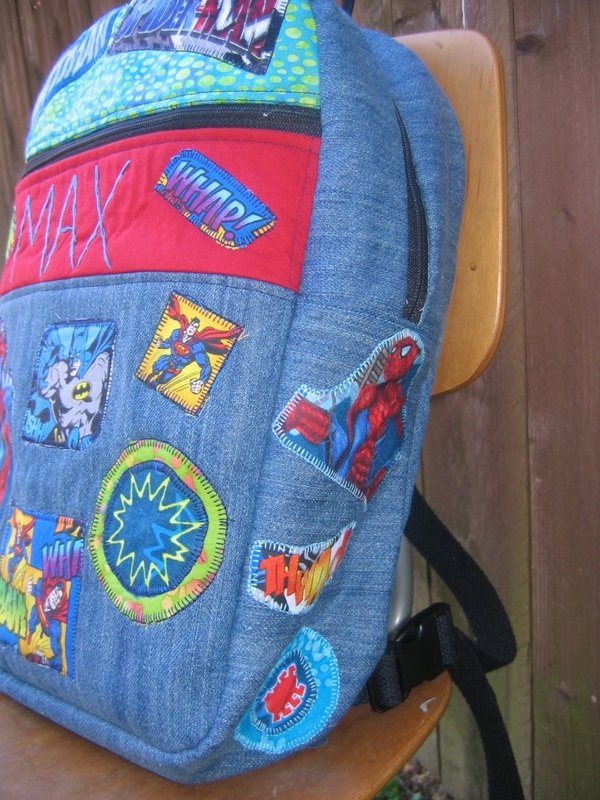
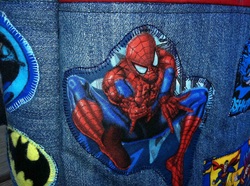
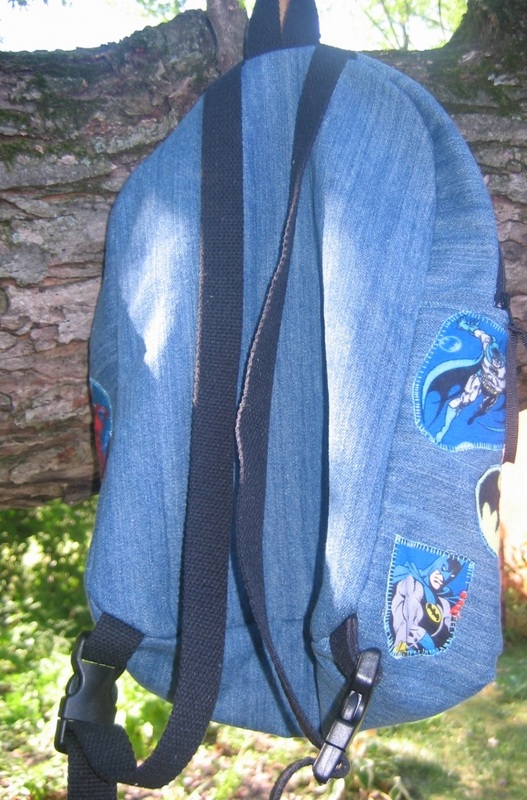
For Max, it took a while to find the right pattern (the toddler and preschool backpack tutorials I kept finding all looked too small). I actually wound up using Simplicity 1823. It’s quite girly looking on the pattern envelope, but I knew that I could boy it up with a superhero theme. I found some Spiderman, Superman, and Batman fabrics at Jo-Ann’s, and cut out various images to make appliques. For the main body of the backpack, I decided to use a basic denim, since I wanted it to be able to take some wear and tear (and I figured it would look good with the superhero red, white, and blue palette). I lined it with an inexpensive light blue cotton.
The pattern is a really good one actually: it’s very sturdy (lined, with both a layer of interfacing, and a layer of fleece). I’d say it’s a lot of sewing—not hard or complicated. Just a fair amount of seaming things together (although I was doing a bunch of appliques, so it probably felt like more sewing than it was).
I will say that there is one mistake in the pattern: it never tells you to cut out a lining piece for the front. But once I went to put the lining together, I realized I had only cut one for the back, as directed. So, I just used the back piece to cut out one for the front (the finished front is exactly the same as the back). No big deal.
I think the appliques turned out great, and I personalized it with his name. There may be other Maxes, and there may be other superhero backpacks, but there will be no other boys named Max with this superhero backpack.
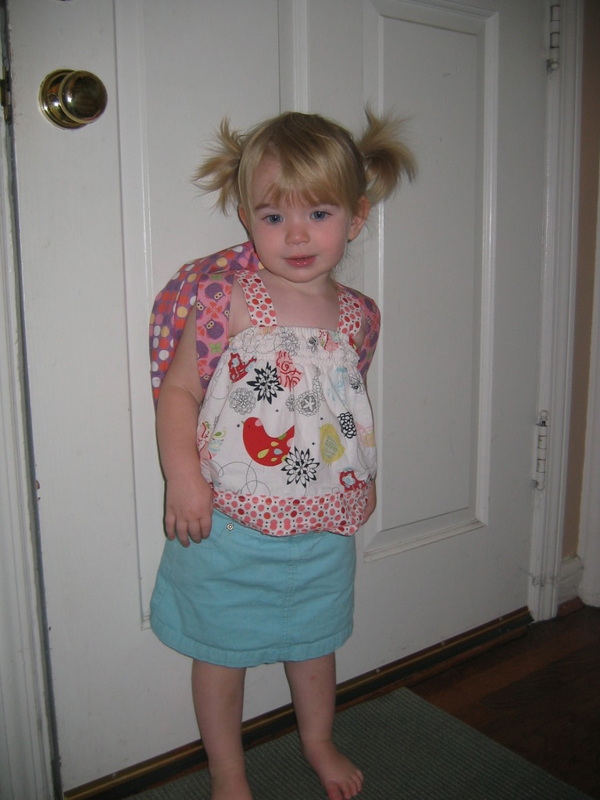
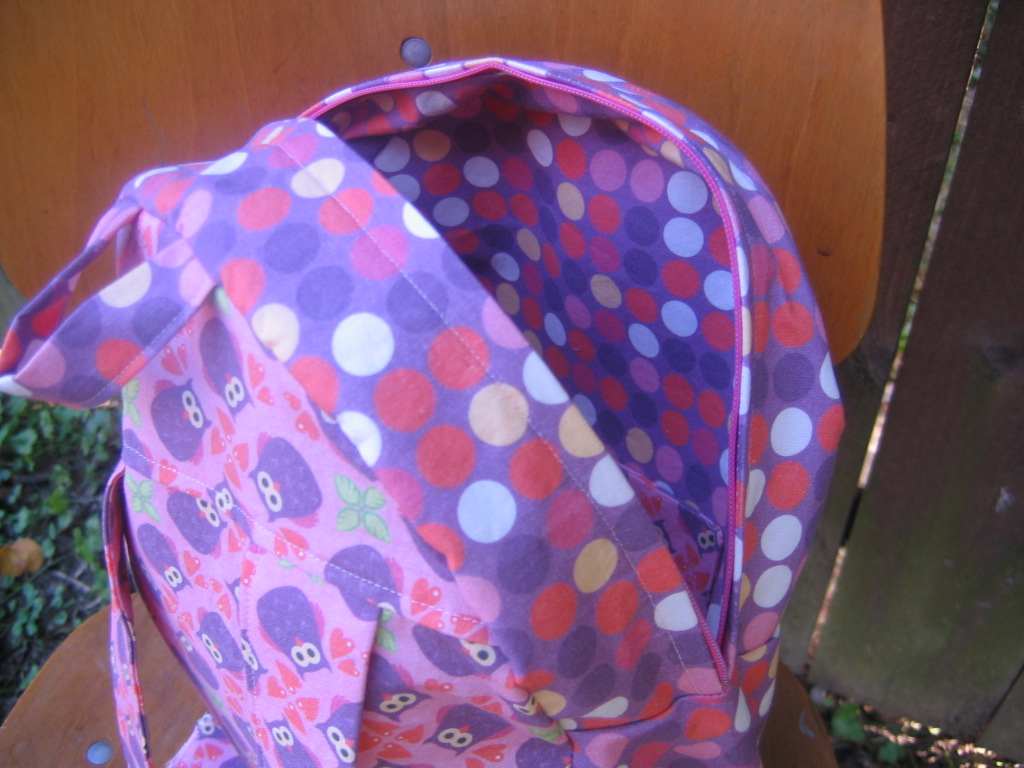
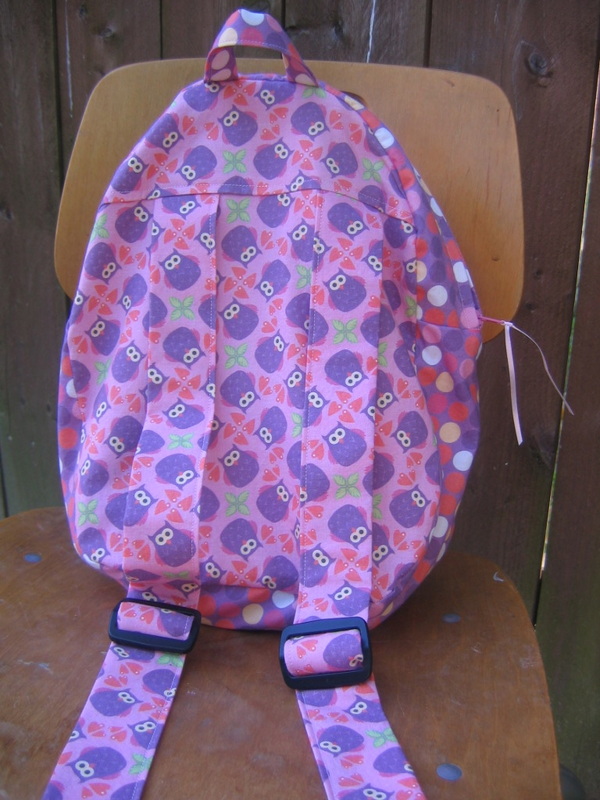
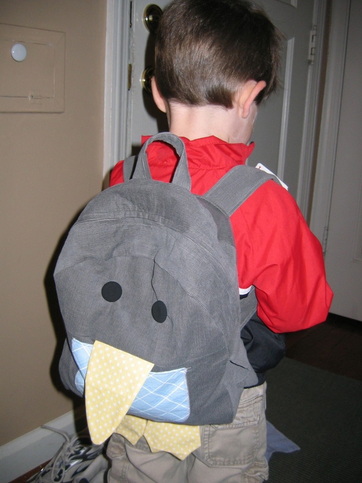
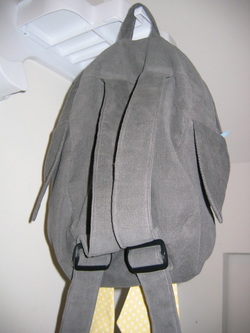
As for Georgia, I decided to go back to the wonderful Oliver + S pattern I used last year to make the Penguin Backpack (from the book Little Things to Sew). It’s smaller, but since she won’t have a homework folder or large art projects, it’s perfect. Instead of the penguin, I kept it simple, and did an owl motif. I found this fabric on Spoonflower, designed by Hamburgerliebe. I used an owl embroidery transfer from Sublime Stitching, and made a 3-layer applique, using some pink and purple solids I already had. A little rickrack, and the whole thing popped. And of course, I personalized it by appliqueing her name, too.
I highly recommend both patterns, even for beginners. I really like the way the Oliver + S pattern has you attach the lining (I wish I had used that technique to attach the lining of the superhero backpack, because it took a lot of pressing and a little tacking to get the lining to fit snugly). Don’t let the zippers scare you in either pattern. It’s really quite easy and workable to put them in. As for straps, the Simplicity pattern uses parachute clips, and the Oliver + S pattern uses traditional strap adjusters (you could do either though).
Sewing backpacks for the little ones got me back in the groove of sewing. I was completely burned out after a summer of demanding deadlines and zero free time. I forgot how meditative it could be to just sit and sew in the evening. So, stay tuned for more projects, tutorials, and giveaways!
First day of school: is there a sweeter concept than that? Especially after a long, hot summer. And an even longer Labor Day weekend.
I’ve accepted that I’m in a phase in my life where weekends just aren’t the leisure and loveliness they used to be. For example, 3-day weekends that alternate between so hot you can’t even go outside to freezing and raining, and involve a very busy 1-year-old, and a 3-year-old who still hasn’t quite gotten the hang of pooping in the toilet, really aren’t very fun.
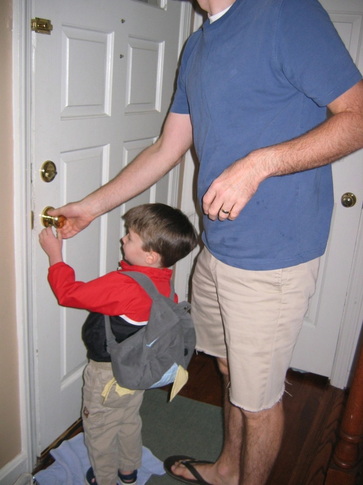
So I was thrilled to go to bed last night, and know that today, we could start over! It did feel like a fresh start this morning, as Max headed off to preschool with daddy, with his backpack strapped on his back like he knew exactly what he was doing.
Was I thinking: “ooh, my sweet little boy! I will miss him so much! How has he gotten so big, so fast?”
Um . . . no. I was thinking: “I am so glad I get to head upstairs and get back to work. And damn, that’s a good-looking backpack!”
It’s a pattern from Oliver + S Little Things to Sew. I am digging this book sooo much, and I’ve already got about 6 other projects dog-eared. Max zeroed in on this backpack immediately. There was no “hmm, well, maybe, but can you make it out of Scooby-Doo fabric?” It was: “I want THAT backpack, mommy!”
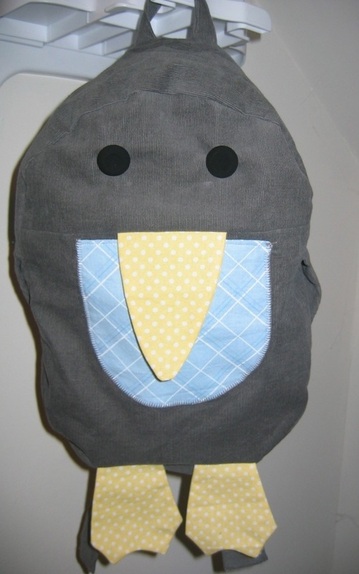
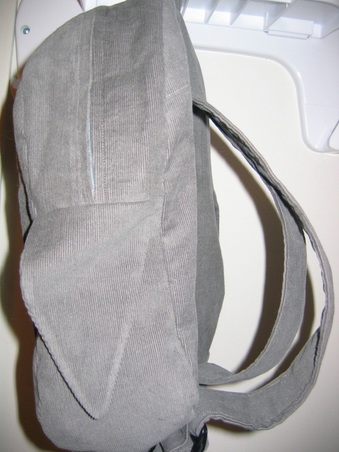
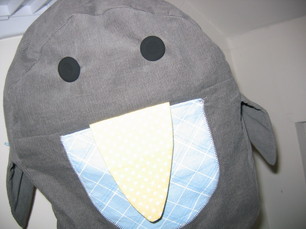
I pretty much matched the colors of the pattern: I picked out a grey corduroy for the body, a blue with a subtle diagonal plaid for the front pocket, and a yellow with a small white dot for the beak and feet. I lined the whole thing with basic light blue cotton broadcloth. I had a hard time finding the right-size strap adjusters at Jo-Ann’s, so I ordered some from Hardware Elf (they came within just a few days).
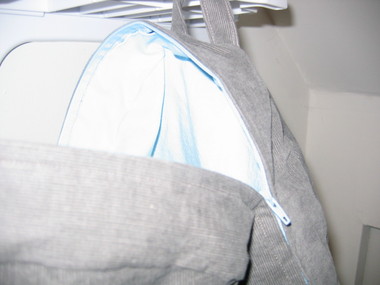
Overall, it’s really a fantastic pattern. There are a LOT of pieces (more than a dozen). As I was tracing the pieces and cutting them out, I began to wonder if I was in for something way more complicated than I anticipated. But it’s actually a very simple pattern, with very, very clear and smart directions. In fact, I learned a new way to make an outside pocket even cleaner at the top. The whole backpack is constructed beautifully—lined and reinforced in the right places. The directions for the zipper are good, although I sort of followed my own method (but don’t be intimidated if you’ve never done a big zipper—it’s super easy, I promise).
I wish it were just slightly bigger (the preschool instructed us to make sure the kids’ backpacks were big enough for their “homework” folder—and this one is, but just barely).
Overall, I can’t recommend this pattern enough for a kid's backpack, whether you want to do the penguin, or leave off the beak and feet and pick out a snazzy fabric.
And now, I’m going to enjoy the remaining hours of peace before I hear little feet scampering back inside . . .
When Bonnie from Fishsticks Designs asked me if I wanted to try her great Charlie Tee & Hoodie pattern , I jumped at the chance! I’m always looking for toddler boy sewing ideas. (On that note, don’t forget to check in at Dana Made It for Celebrate the Boy Month!)
Anyway, Bonnie sent me this pattern for free, but I’m under no obligation to give it a glowing review. I don’t need obligation: this handy little pattern sells itself! I truly, truly love it and I think it’s probably my favorite thing I’ve made for Max so far.
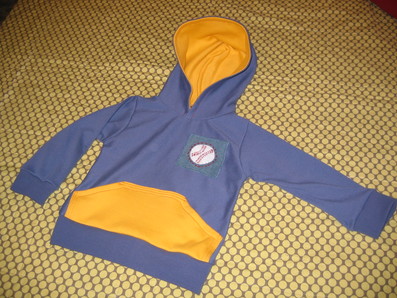
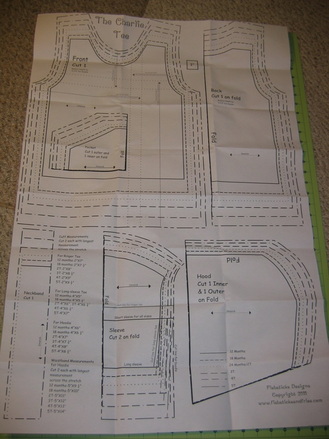
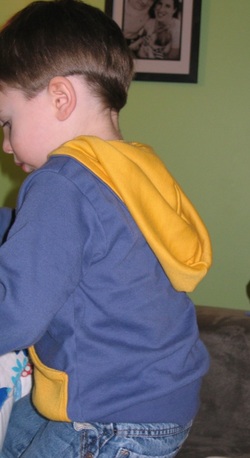
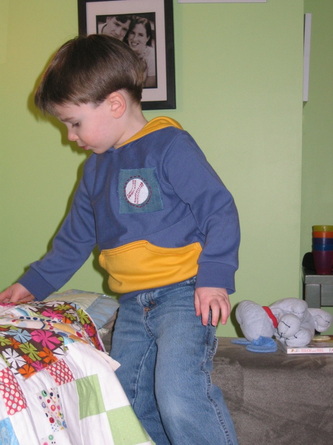
The Pattern The pattern presentation isn’t fancy (a manila envelope with black and white sheets) [little update here: Bonnie just changed out the packaging! See it here!], but that’s unimportant to me. I’m after functionality and a good pattern, and this definitely delivers. First, it’s about five different patterns in one, because you can customize it for what you want: a plain tee (long or short sleeves), a color-blocked tee, or a hoodie (either outerwear or more like a tee-shirt). I chose the tee-shirt hoodie option, because I wanted Max to have something to wear around for spring that wasn’t too heavy.
She offers the patterns in different sizes (all the way up to adult), and my pattern is for infant/toddlers. There are six sizes: 12M, 18M, 24M/2T, 3T, 4T, 5T
It comes with one big sheet of paper, with all of the sizes clearly printed. The best method is to trace the size you’re making. This way, you don’t have to deal with cumbersome paper when cutting out, and also, you can re-use (I anticipate using this pattern for many years as Max grows!). I used Pellon True-Grid (I just buy this by the bolt at Jo-Ann’s).
The Directions The directions are very clear. I admit, I didn’t always read them word for word because once you know how to do something your way, you just go ahead and do it without really checking (though I don’t think my way differed from her way). But it would be very appropriate for a beginner. Also, she gives serge directions, if you’re using a serger (I wasn’t). There are accompanying pictures that illustrate the steps, and overall, it’s easy to follow.
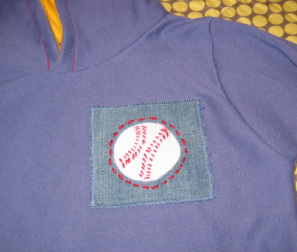
What I Customized I decided to make a little baseball appliqué. So, this was my addition, there aren’t directions for this in the pattern. But there’s nothing to it: I just cut a piece of white felt into a circle and stitched it (by hand) to a square of denim. Then I took small stitches with a single strand of red yarn to mimic the stitches on a baseball (I actually had to Google images of baseballs to see what a baseball actually looked like!). I made a row of hand stitches with the red yarn just outside the baseball, and then I machine-appliquéd the piece of denim to the front.
I also added more top-stitching to the big yellow pocket, because I wanted to bring out the red. I top-stitched around the hood, too.
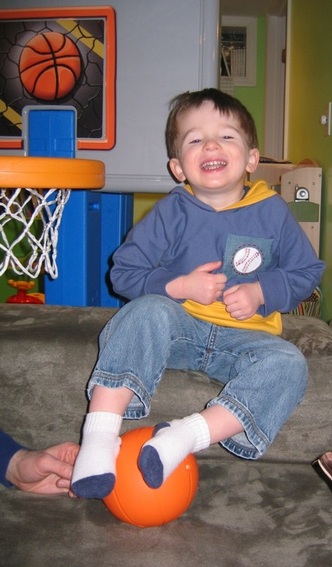
The Overall Fit I made a 3T for Max, who is 2-1/2 years old, and a little bit on the small side (he’s like 35% percentile in height/weight). It’s just slightly big, but I like that, because there’s room to grow (I think it will still fit him this fall). It's a nice slim fit (and the waist cuff helps streamline it even more), but it's certainly not too tight. The only little thing: the neck opening is a bit snug. I like this from a fit perspective, but it does make getting it on and off him a bit tight (keep in mind, I did the hoodie version; I don’t think this would be an issue with the regular tee). It’s easier to flip it around and put his head in backwards and then flip it around to the front. When I make it again, I think I’ll cut the neckline just slightly bigger. But this is really no big deal.
The Charlie Tee & Hoodie is priced at $11.25. I know there are a lot of free patterns and tutorials online (which is awesome!), but it’s worth paying for a really great, well-designed pattern that you can use over and over again. I’ll certainly return to this one again, and will probably girl it up and make it for Georgia this fall, too!
Oh, one last thing: If you're nervous about working with knits, check out Bonnie's blog post answering questions about sewing knits
So here we are in March! March is a little bit wonderful and a little bit rotten—it teases you with sunshine and then dumps some cold weather on you just for sport. But I’m keeping a good thought for spring!
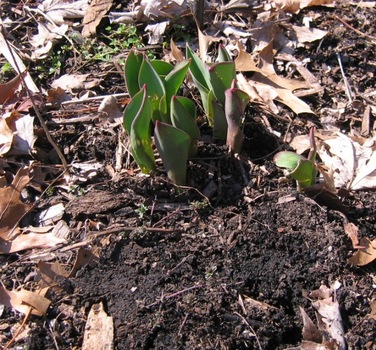
A few snapshots from my garden:
Tulips soon to make their entrance . . . .
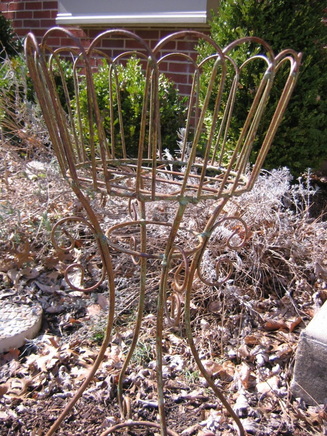
A basket soon to be filled with annuals . . .
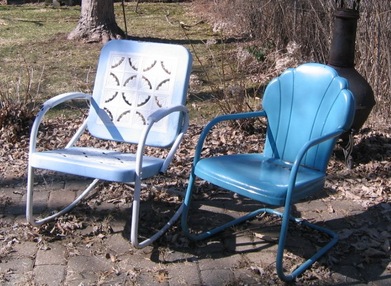
Chairs soon to be rocked . . .
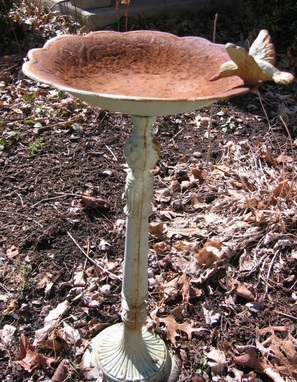
A birdbath soon to be splashed in . . .
Despite its fickle weather, March is a great month for celebrations. I mean, it’s National Craft Month and Women’s History Month! Women, history, sewing: Could there be a more perfect combo? Hmm, if only there was a book about this or something, right?
Anyway, I was honored to write a guest blog about the history of women and sewing for the lovely Natalie over at the Craftzine blog. Check it out here, and put in your two cents if you get a chance!
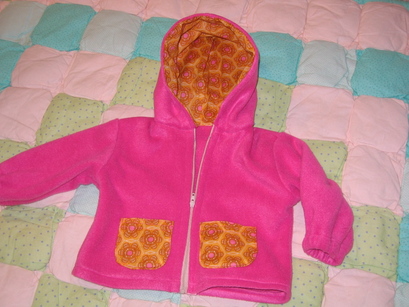
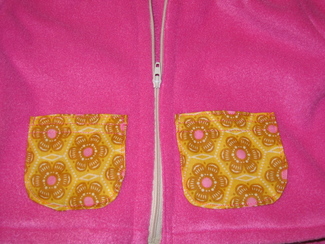
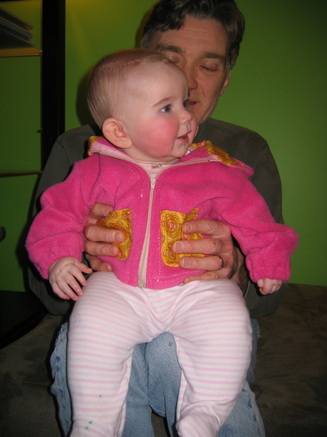
Also, I decided March was the month that my little baby girl should finally have, you know, a jacket (we just relied on blanket-bundling to get through the winter).
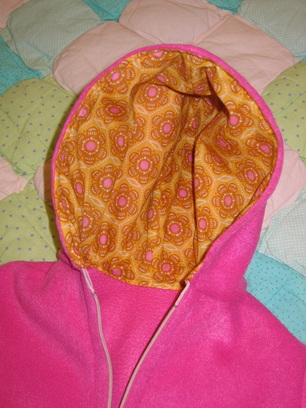
I found a fleece as a remnant at Jo-Ann’s and it had pink prettiness written all over it. I used Simplicity pattern 5316 , but modified it some. I used an Anna Maria Horner print (one of the prints that came in the fabric stack) to make the pockets and to line the hood (the pattern doesn’t call for lining the hood, but I wanted the fun contrast).
It’s an easy pattern to follow, and even if you’ve never done a separating zipper, the directions walk you through it very well (it had been a few years since I did one). It gets mighty bulky at the bottom, but just solider through it and even if it’s slightly crooked, it will still be okay.
So, let's all channel spring and the amazing stories of women throughout history. And maybe go make a pretty spring jacket for yourself (or your kid) if you don't have one! It will make you happy, I promise.
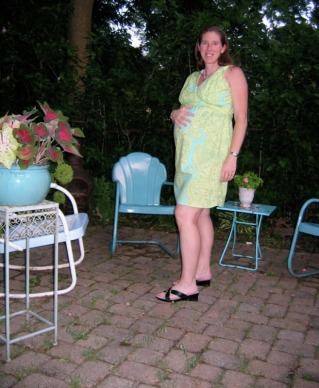
I’ve already blogged over at the site of my colleague, Kelly Watson, about how Anna Maria Horner’s Amazon video for Handmade Beginnings totally sucked me in (and led me to create my own video)! On the video, Horner features the Mariposa Dress (and she is wearing it in the book). I knew at first glance that I absolutely HAD to make it. After all, since I was already pregnant, the timing was perfect!
I was intimidated by the pattern sheets at first, because there are multiple pattern pieces printed over top of each other. But it’s all color-coded, so actually, it was very easy to trace and keep track of. I make all of my pattern pieces out of Pellon Tru Grid because it’s easy to see through and work with. I decided to make the dress (not the tunic) and to follow the maternity directions (obviously). There is also an option to just make it an empire waist, without the extra space for a belly (in which case it still serves as a great nursing dress). The sizes are somewhat limited: it’s either small/medium or medium/large. (I chose medium/large, and when not pregnant, I wear either a size 8 or 10.)
My observations:
I found the directions very clear. The only thing I had to take a second look at were the directions for shaping and cutting the rectangles for the bottom of the dress. You fold them to shape them (so you can shape both sides at once), but then you have to unfold them to cut, and then cut the whole rectangle on the fold. It seems obvious now, but at first I thought you were supposed to leave them folded in half to cut (something about the wording of how to place it on the fold confused me for a minute, but of course, it wouldn’t make sense to leave them folded to cut).
The wrap ties—which I adore from a design perspective—are nonetheless a pain in the butt to work with, especially because they are constantly in the way. But such is the price for loveliness! Just take your time with them.
I decided to make mine sleeveless (since it’s 10,000 degrees outside this summer) and I brought the arm holes in slightly. This added a bit of bulk at the shoulder seam, which I didn’t think through; I wish that I would have adjusted the spacing of the box pleats. But it’s not really a problem.
I just finished the armhole edges with pre-made bias tape, since I wasn’t in the mood to make my own.
It’s a bit short, so I just took the scantest of hems. If you’re tall (I’m 5’ 5-1/2”), you probably want to add more length (she does give you finished dimensions, so you can measure ahead of time and figure out your length).
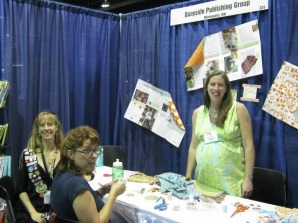
Wearing the dress at CHA
There is definitely room for a pregnant belly in this dress! I’m 35 weeks (and in no way small), and I wore it this past weekend at CHA. I actually got lots of compliments on it! I hope that I can still wear it after I have the baby; I’m worried it will be too long in the front, but I love this dress so much, I don’t want to give it up! The modesty panel (which comes together very easy) makes it ideal for nursing, so I definitely plan to make the tunic version after the baby comes.


 RSS Feed